Agency Quick Start Guide
Welcome to your new Agency account. This guide will get you started with setting up your account and clients.

You will notice that your account is already added, but there is no app connected. We will cover connecting an app shortly, but first, let’s explore the basic components of the interface.
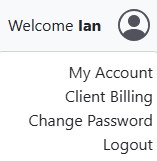
Clicking on the avatar icon in the top right corner will give you access to your account information, including: Name, Address, Credit Card, Password Reset, Invoices, Subscriptions and Billing Information.
Adding a Client and Connecting Their CRM Platform
Let’s add your first client. Click on the blue “Add Client” button, just under the avatar icon, top right of your screen.
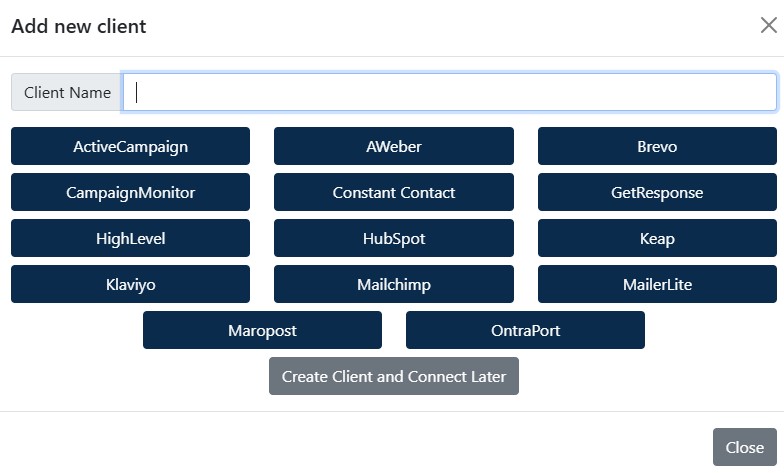
From the popup, you have two options:
1. Create a new client without connecting a platform, and connect it later.
2. Create a new client with their platform already connected.
Let’s take option 2 and connect their platform as we add the client.
Enter a name for your client in the box at the top and select their platform from the list of supported platforms below. You will then be guided step by step through connecting their CRM.

And that’s all there is to it. We will collect the data we need from their CRM platform and calculate our stats. As soon as that’s done, they will be displayed on your dashboard. If you have a subscription, you will see detailed stats and have access to all the reports we create. Without a subscription, you will see the the dashboard above, with red, amber, and green icons to represent how well they are doing in each key area.
Next, let’s connect a CRM platform to a client created without connecting a platform at the time of adding them.
We can use your own (agency) account to show how easy this is. In this example, that’s the “Ian Wilson” entry on the dashboard. Go ahead and click on your agency.
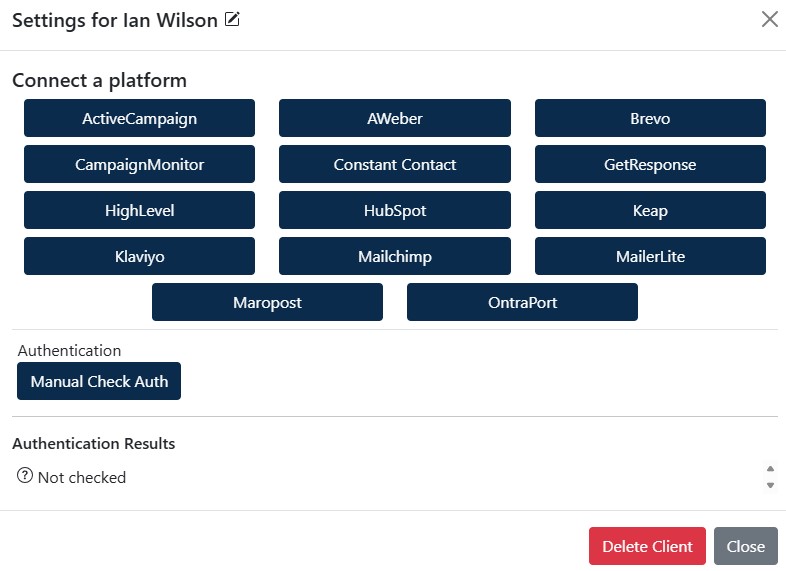
The popup window will allow you to select a platform to connect, and you will be walked step by step through the connection process.
You can also perform a check of their domain’s authentication status from this popup.
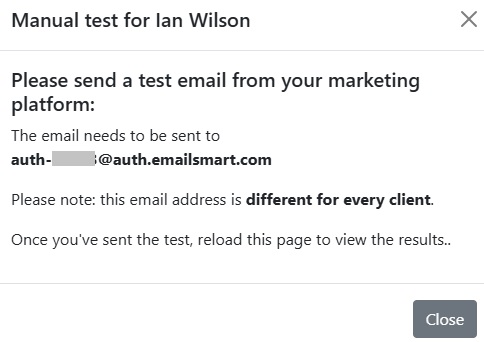
Checking Your Clients’ Authentication
The authentication check is very straightforward, you just need to send an email from their marketing platform to the email address provided in the popup window.
This email address will be different for each client for whom you perform an authentication check.

And that’s all there is to setting up your clients. Go ahead and add them all now and then come back to the guide to see what to do next.
What Can I Do Once My Clients Are Connected?
Let’s dig into all the features available to you now you’re all set up. Go ahead and click on one of your clients in the dashboard.
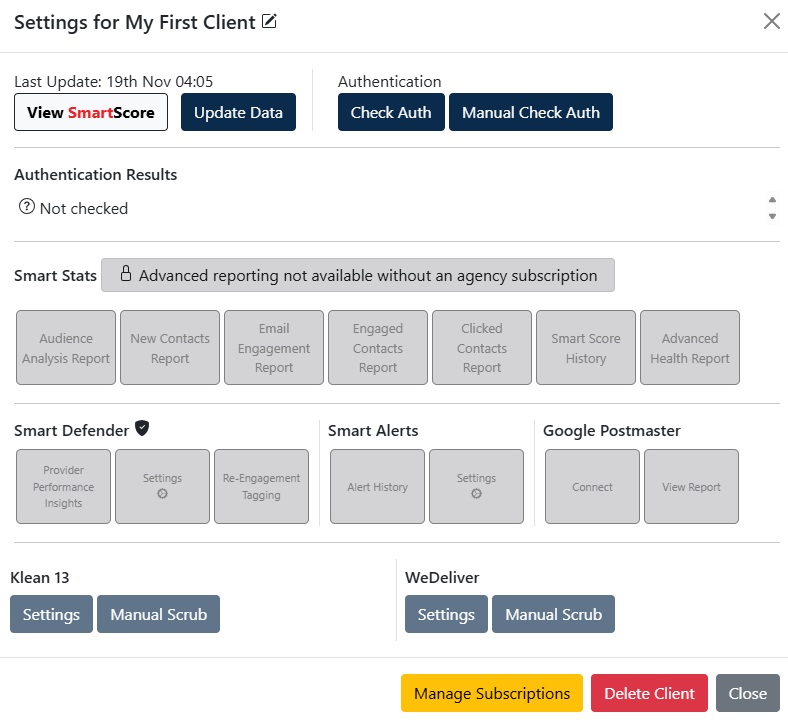
This is the popup window you will see. From here, you can access all the features available to you, based on the subscription plan you have.
If you don’t have a subscription to be able to access our advanced features, only the top and bottom rows of buttons will be active. As you see in the image, Advanced Reporting will not be available.
Below the Advanced Reporting, you will notice Smart Defender, Smart Alerts and Google Postmaster integrations. These features are only available if a Pro Tools subscription has been purchased. This can be done through our commission based referral programe or by becoming an EmailSmart Certified Partner.
